Help Center
Translate Theme to another language
This article is for the theme language strings.
If you want to manage content in multiple languages see this article Translate Content to multiple languages
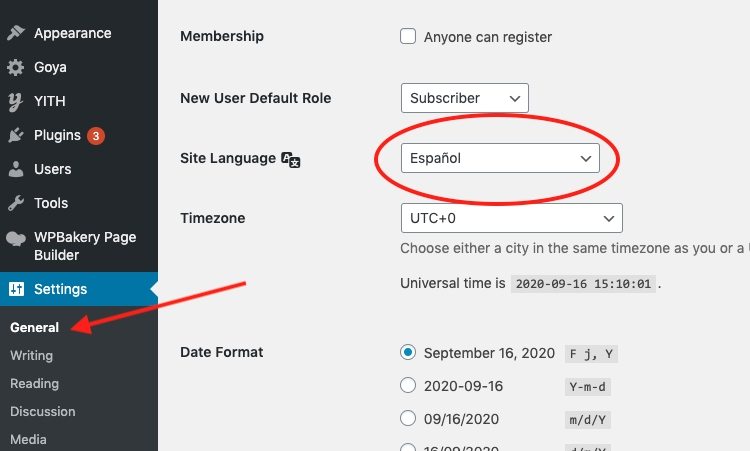
First, you need to change your language of WP installation. This can be done in Settings → General, where you can set the Site Language option and save the settings.
Then, use one of the following methods:
Method 1: Ready to use translations
With the theme version 1.0.5 some translations were included in the full theme package. The list of included translations:
- French
- German
- Dutch
- Spanish
- Turkish
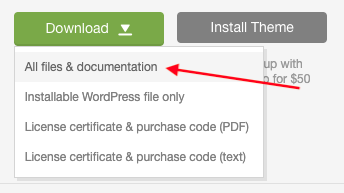
Get the full package from your Themeforest account:
The translations locale are fr_FR, de_DE and es_ES. Your language defined in Settings → General on previous step must be exactly the same locale. You can’t use the es_ES translation if your site language is es_MX.
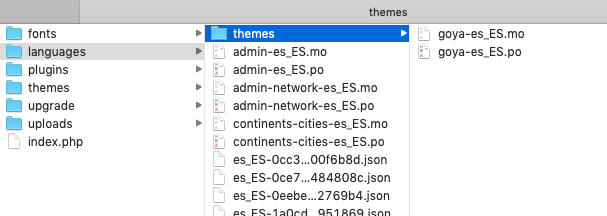
Select the desired translation and upload both the .po and .mo files to directory /wp-content/languages/themes/
That’s it. Skip the Loco Translate or Poedit steps.
Method 2: Translate using Loco Translate
This is the easiest method as you can do it right from your WordPress admin panel. Install the plugin Loco Translate which is free.
Then, go to menu Loco Translate → Themes and click on Goya.
Even if the active theme is Goya Child, the translation is always on the Goya parent theme, not the child one.
Create a new language with the same locale as your language defined in Settings → General. For example, if you main locale is Spanish from Spain es_ES, then your Loco Translate configuration should be exactly the same.
DO NOT select the Author path to save your translations because they will be lost when you update the theme. Use the Custom location preferably.

Finally, start translating the strings. For each original string in English add the corresponding translation.
Complete the translation of all strings and save your changes. That’s it.
Updating from older versions
If you updated the theme from an earlier version you have to click on the Sync button to retrieve any new strings.
Method 3: Translate using Poedit (advanced users)
For some advanced users this method is faster. You need https://poedit.net/download
If you want an easier method use Loco Translate instead!
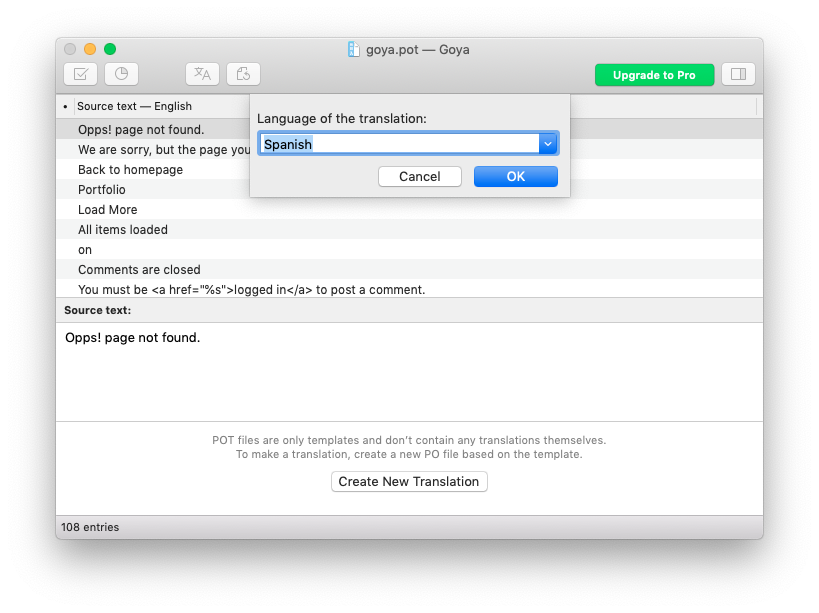
Find the languages folder of the theme: wp-content/themes/goya/languages/. There you will find a file goya.pot. Load this file (as the catalog) in the PoEdit and start translating.
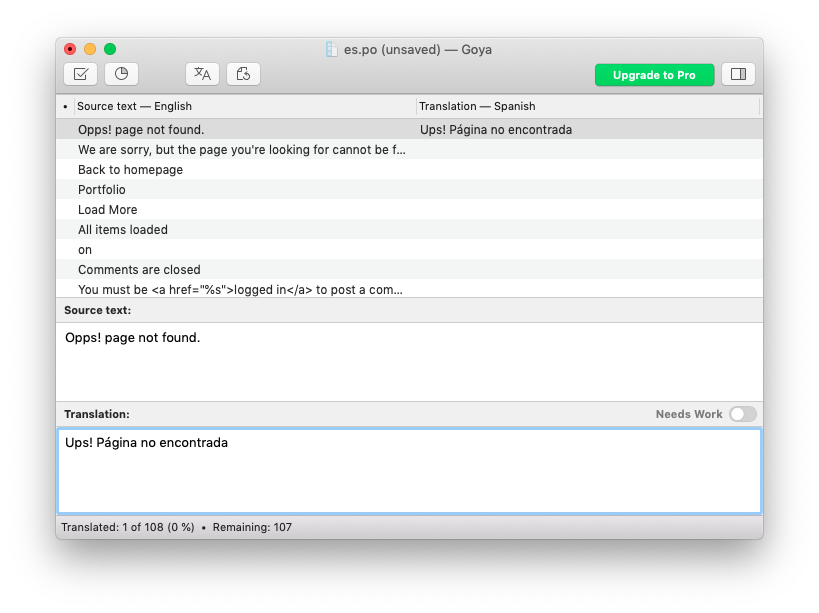
When done, save the .po file in the folder wp-content/languages/themes/ and name this file regarding your locale (you can find your locale on this page). For example: for Spanish language you would name your file: goya-es_ES.po. The corresponding .mo file will be automatically created next to the .po file.
And that’s it, your translations should work now.
Translate other elements
Translate Wishlist texts
All Wishlist texts are from YITH Wishlist plugin. Go to menu YITH > Wishlist > Add to Wishlist Options and Wishlist Page Options to translate the strings.
The success message is overridden by YITH Wishlist plugin. That success message is in the wishlist language strings. You can create your own language file for the YITH Wishlist plugin. The process is basically the same to the theme translation.
Or it’s possible to use a filter.
add_filter('yith_wcwl_added_to_cart_message', function() { return 'Success message here';});Code language: JavaScript (javascript)Add the code to wp-content/themes/goya-child/functions.php with your own message.
Translate Filter titles
WC Ajax Product Filters work with widgets. Go to Appearance > Widgets > Shop Sidebar and edit the widget title
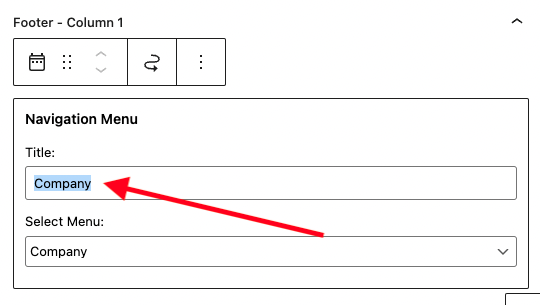
Footer Columns
The links on the footer separated in columns are widgets too.
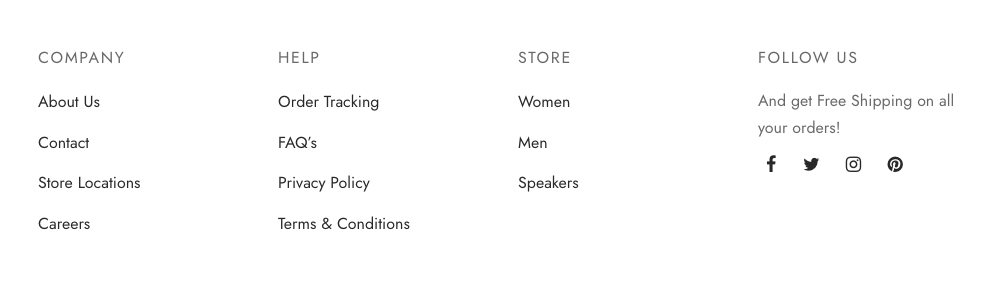
In Appearance > Widgets > Footer – Column * edit the widgets and change the widget titles.
Terms & Conditions / Privacy Policy
The Terms & Conditions checkbox caption is included in the WooCommerce translation file. However, there’s a core WooCommerce option in the customizer to change the text easily.
Go to Appearance > Customize > WooCommerce > Checkout to adjust the text.
There is a bug in the latest WordPress 5.6 version and the fields don’t show up. Check here the solution https://github.com/woocommerce/woocommerce/issues/28606
First, select No page set, then select the Terms & Conditions page again to make the extra fields visible.
Wait until the preview has refreshed to select the option as shown in the instructions.
Translate the Description tab title
To translate the Description tab it’s necessary to use a filter.
Based on your Product Details Mode paste one of the following snippets in wp-content/themes/goya-child/functions.php change New Description Title to your desired title.
For the default Tabs Layout:
add_filter( 'woocommerce_product_tabs', 'woo_customize_tabs', 20, 1 );
function woo_customize_tabs( $tabs ) {
 $tabs['description']['title'] = __( 'New Description Title' );
 return $tabs;
}Code language: PHP (php)
For Vertical layout
add_filter( 'woocommerce_product_description_heading', 'custom_description_heading' );
function custom_description_heading( $heading ){
 return 'New Description Title';
}Code language: PHP (php)
For Accordion layout
add_filter( 'woocommerce_product_tabs', 'woo_customize_tabs', 20, 1 );
function woo_customize_tabs( $tabs ) {
 $tabs['desc_tab']['title'] = __( 'New Description Title' );
 return $tabs;
}Code language: PHP (php)
Translate Home text in WooCommerce breadcrumbs
By default WooCommerce uses Home as the root element. Use the following filter to change it:
add_filter( 'woocommerce_breadcrumb_defaults', 'goya_change_breadcrumb_home_text' );
function goya_change_breadcrumb_home_text( $defaults ) {
  $defaults['home'] = 'My Store';
  return $defaults;
}Code language: PHP (php)
Reference https://docs.woocommerce.com/document/customise-the-woocommerce-breadcrumb/