Help Center
How to upload my logo?
It’s probably one of the first things you may want to do when you start customizing the theme to align its looks to your brand. To upload your logo, navigate to Appearance > Customize > Header > Header Logo.
The option Appearance > Customize > Site Identity > Logo always crops your image and it may look blurry. Leave that option empty
Upload your logo
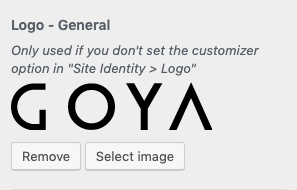
Default Logo

This is the logo displayed by default on the whole site.

Notice:
You can also set your default logo using the core WordPress option in Site Identity → Logo. This will override the Logo – General which was added to make it easier to add all logos on an single panel.
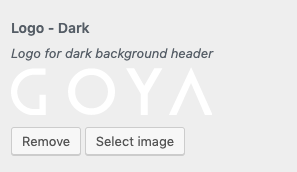
Dark Backgrounds Logo
Add this logo if some of your pages will have a dark background with transparent header.

It will look like this on your configured dark background pages:

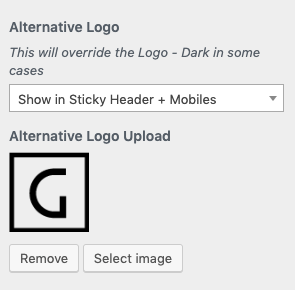
Alternative Logo
This option is just in case you want to show a different logo. If you want the same logo skip this section.
If you want to further customize your site with an additional logo – for example a smaller logo for sticky header or for mobiles – use this option.

Choose of the conditions to show this logo:
- Sticky Header and Mobiles
- Tablets and Mobiles
- Mobiles only
This is how it would look on mobiles:

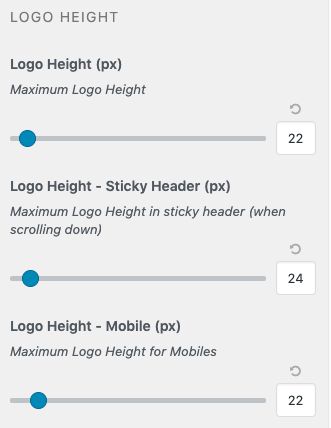
Adjust your logo size
Now, you can change your logo presentation size. Make sure your image uploaded on the previous step is big enough.
Go Appearance → Customize → Header → Header/Logo Sizes and use the sliders to adjust the logo size.
